Six steps from the first walk of your property to the day we hand it back. No surprises, no guesswork, and nothing planted before you have seen exactly where it is going.
Most landscape problems start before the first plant goes in
A landscape fails for boring reasons — the wrong plant for the soil, spacing that looked fine on delivery day and became a hedge two years later, irrigation that never reached the new beds. None of that is fixed with better plants. It is fixed with a better process, and ours is built to catch those decisions while they are still cheap to change.
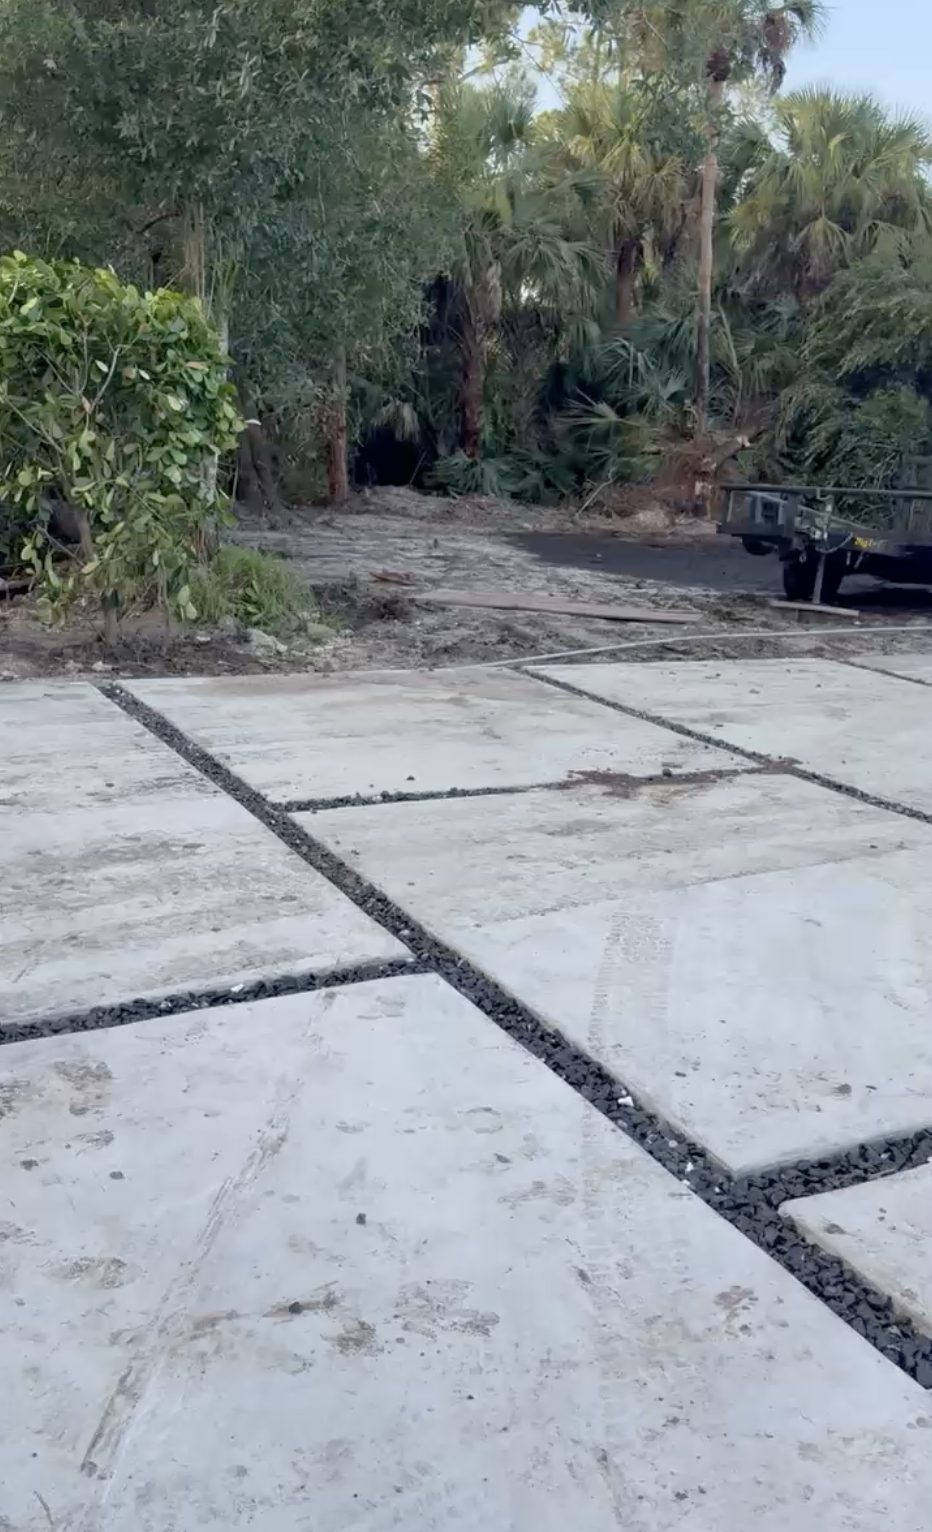
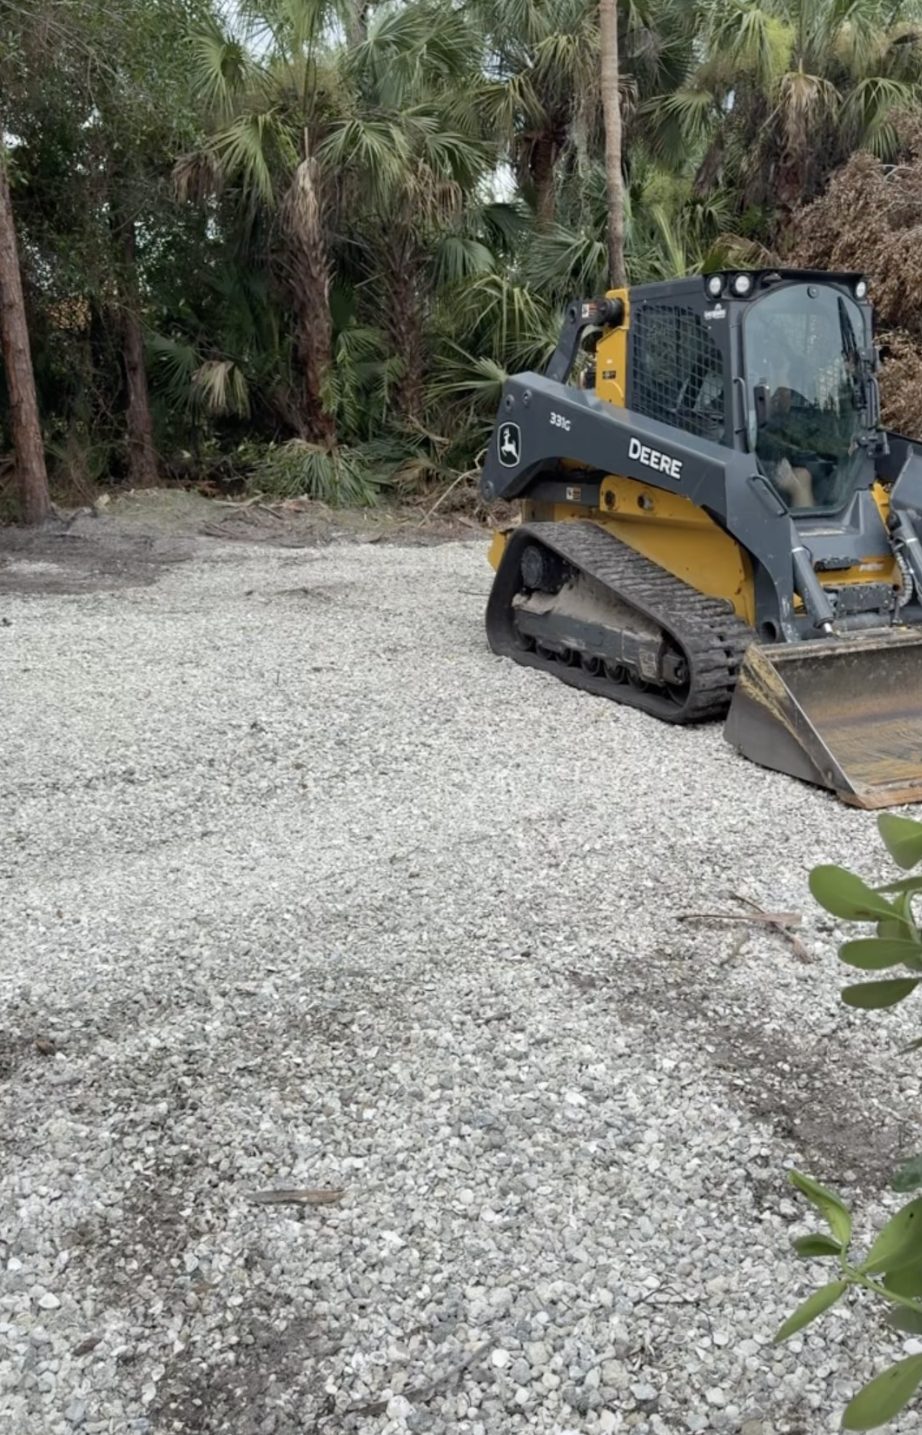
01Where most of our projects begin — cleared ground and a plan.
Step 01 of 06
We walk the property, then put it in writing
Every job starts on site, not on a price list.
We meet at the property and walk it together — what you like, what frustrates you, where water sits after a storm, which beds have quietly died back. Then it goes on paper: bed shapes, plant selections, quantities, and what it costs. On commercial sites that written scope is what a manager takes to a board or a regional office. Nothing gets quoted until we have actually stood on the ground.
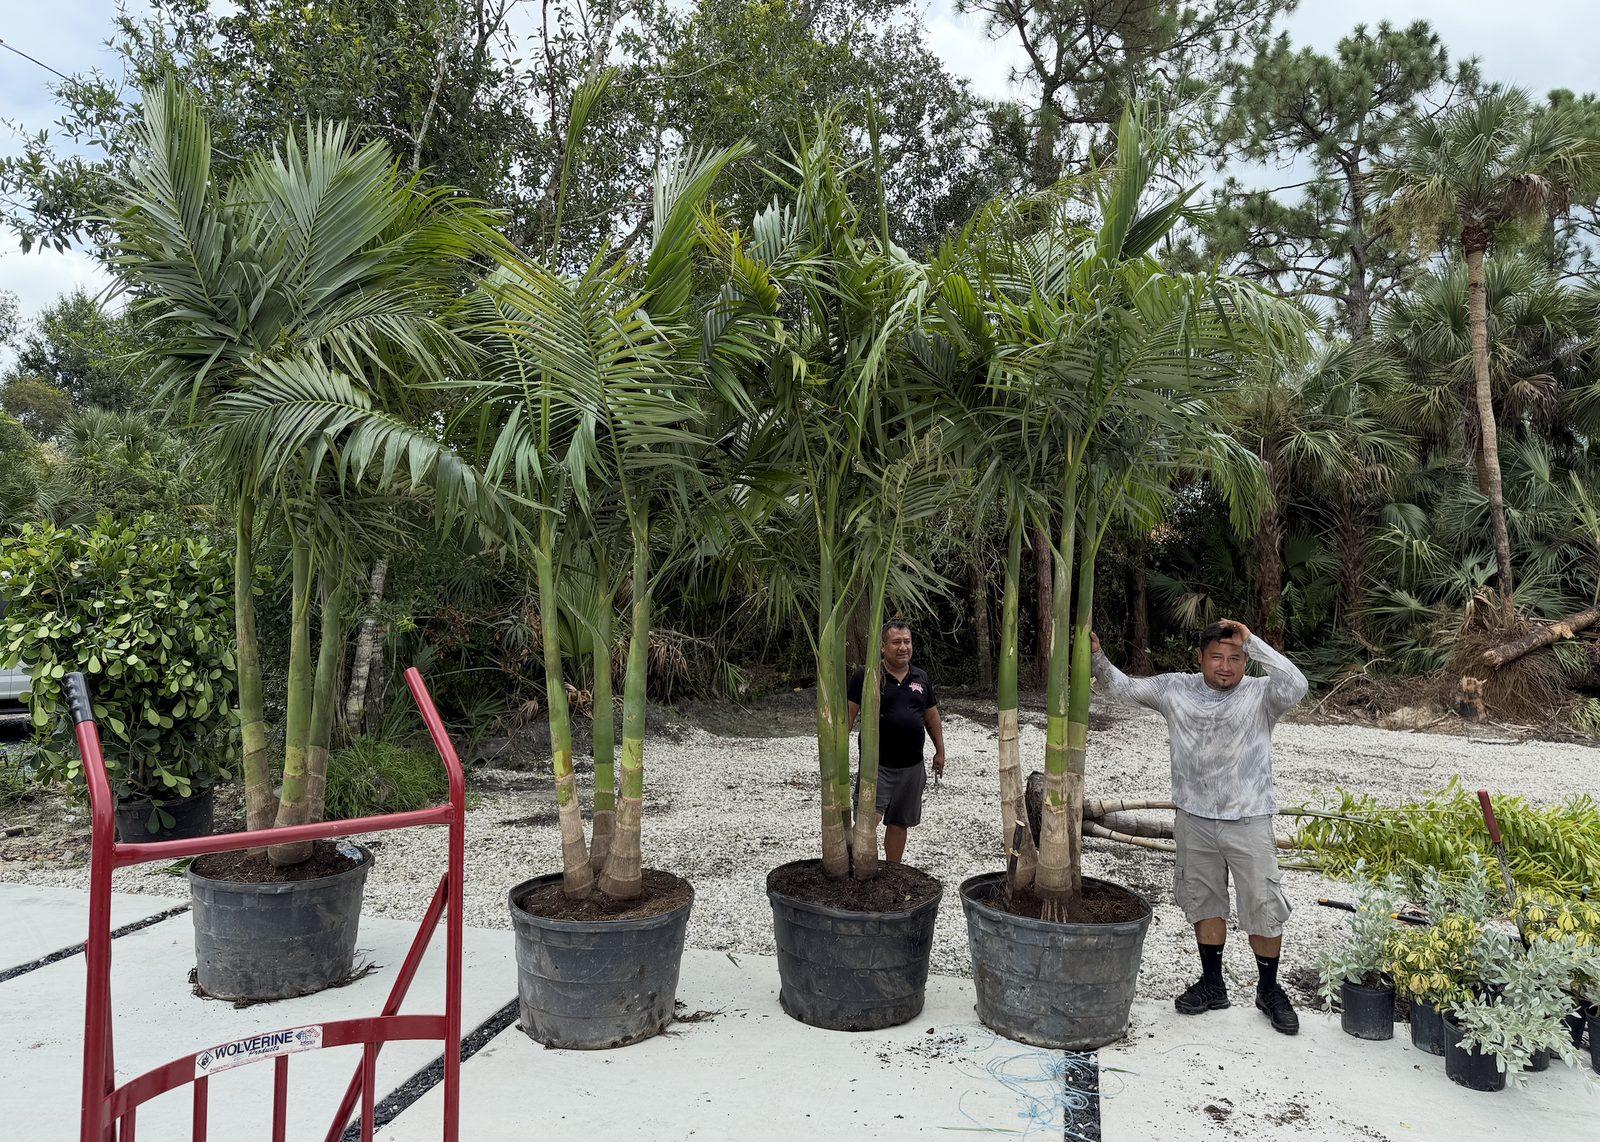
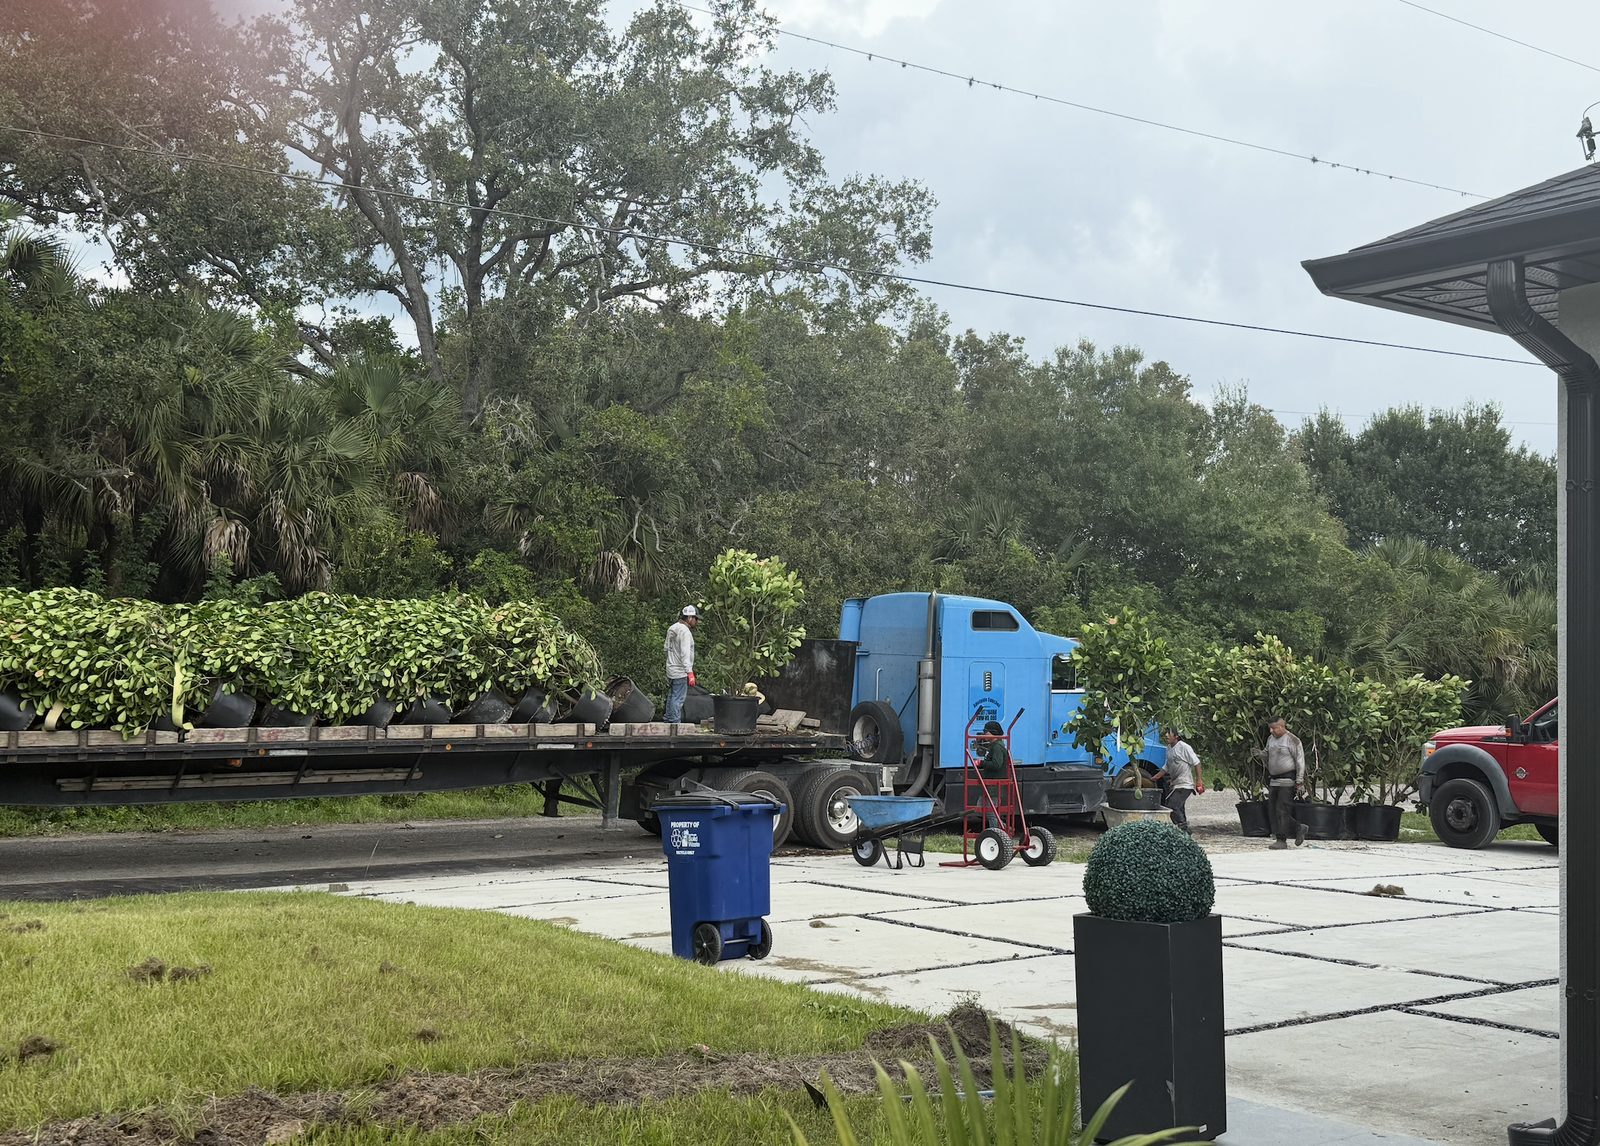
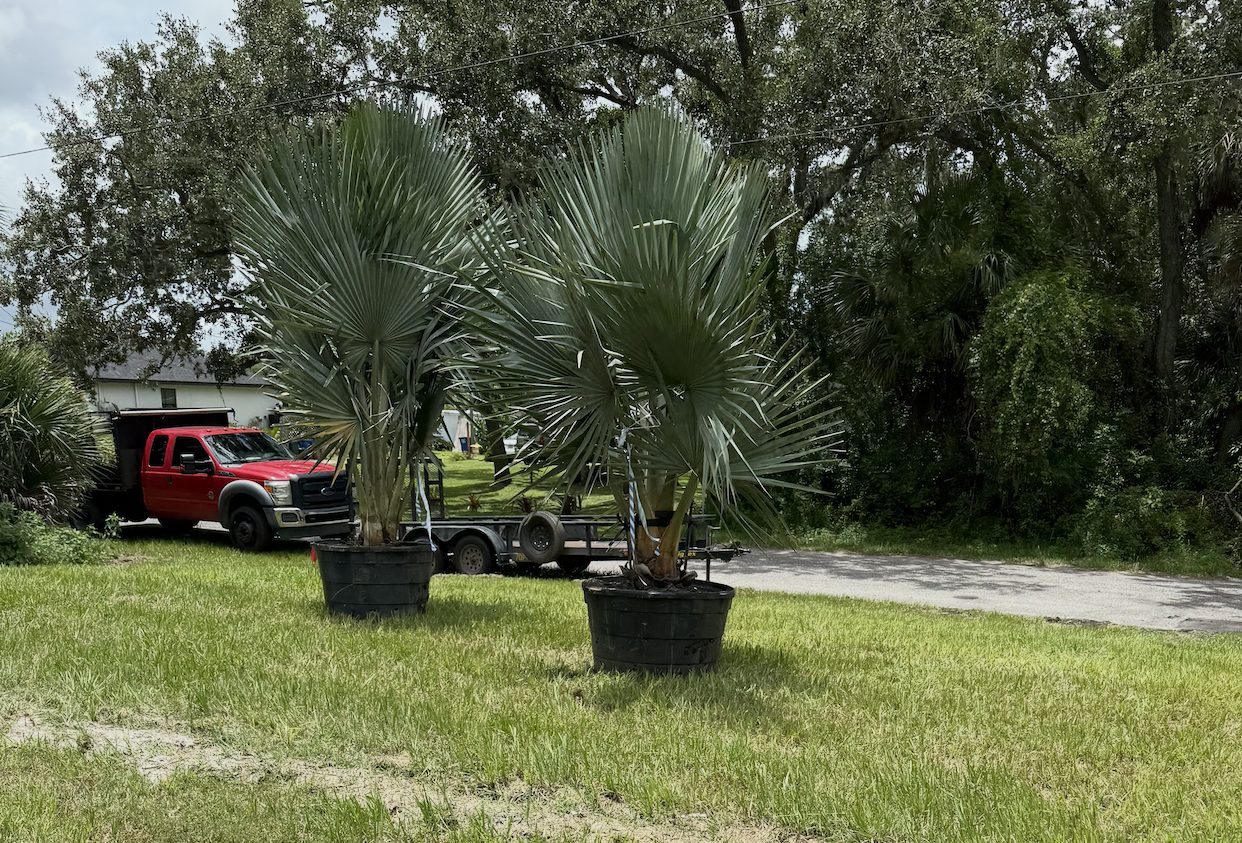
02Selecting specimen palms at the grower — sized in person, not on paper.
Step 02 of 06
We pick the material ourselves
We do not plant whatever came off the truck.
Specimen palms and trees are selected in person at the grower, not ordered from a size on a list. Height, trunk caliper, canopy shape and health vary enormously between two trees sold under the same label. For Southwest Florida we are also choosing for heat, sandy soil, summer rain and salt exposure on coastal properties — the wrong species is a slow, expensive failure that no amount of maintenance fixes.
★★★★★
“We had a plan when we met with Henry and his team, but after careful consideration the team came back with a different — and better — plan. Some of the plants we had selected would have caused major insect issues we didn't want to deal with, and one of the trees would have created root problems later on. I am so grateful the H&M team was able to lead us in a better direction, and we are so happy with the results.”
Julie J.Homeowner · On the project shown on this page
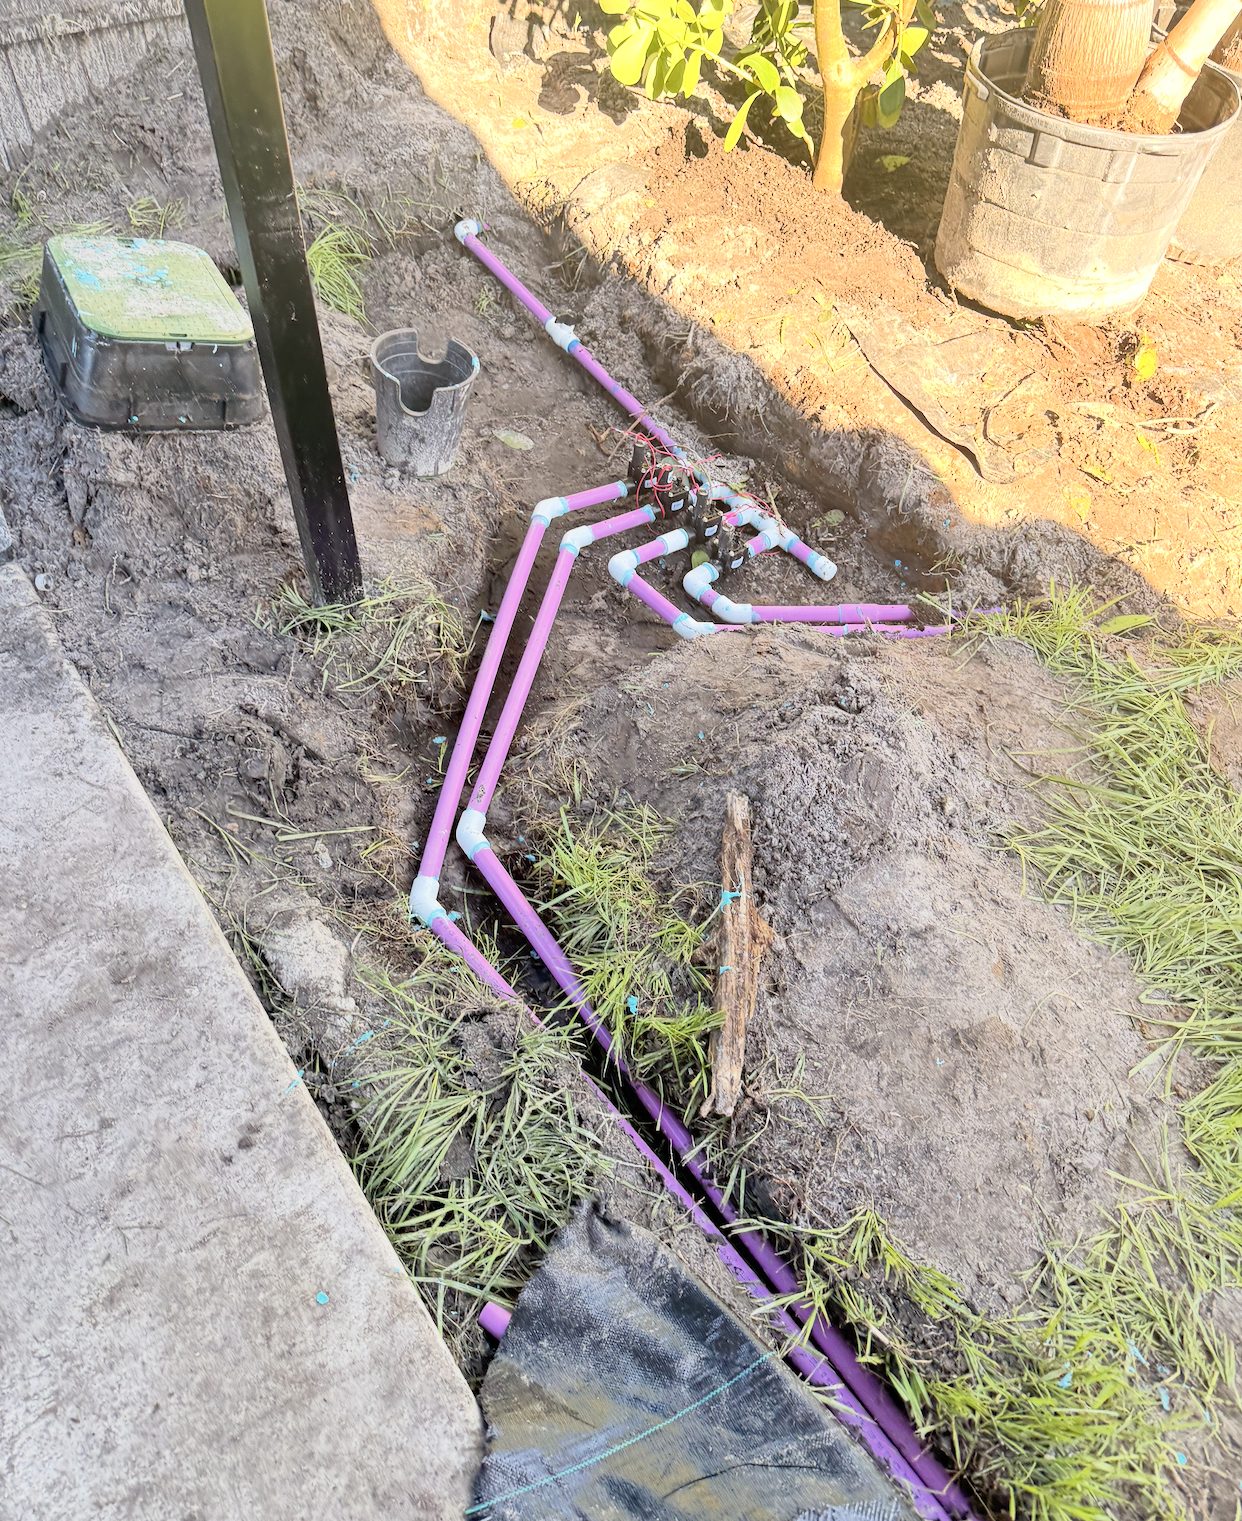
03Irrigation trenched and re-plumbed before planting begins.
Step 03 of 06
We fix what is under the ground first
The part nobody photographs, and the reason work lasts.
Old material is cleared, beds are cut and shaped, soil is amended where it needs it, and irrigation is trenched, repaired or extended before a single plant goes in. New beds put in over lines that never reached them is one of the most common reasons a landscape looks tired within a year. It is unglamorous work, and it is most of the job.
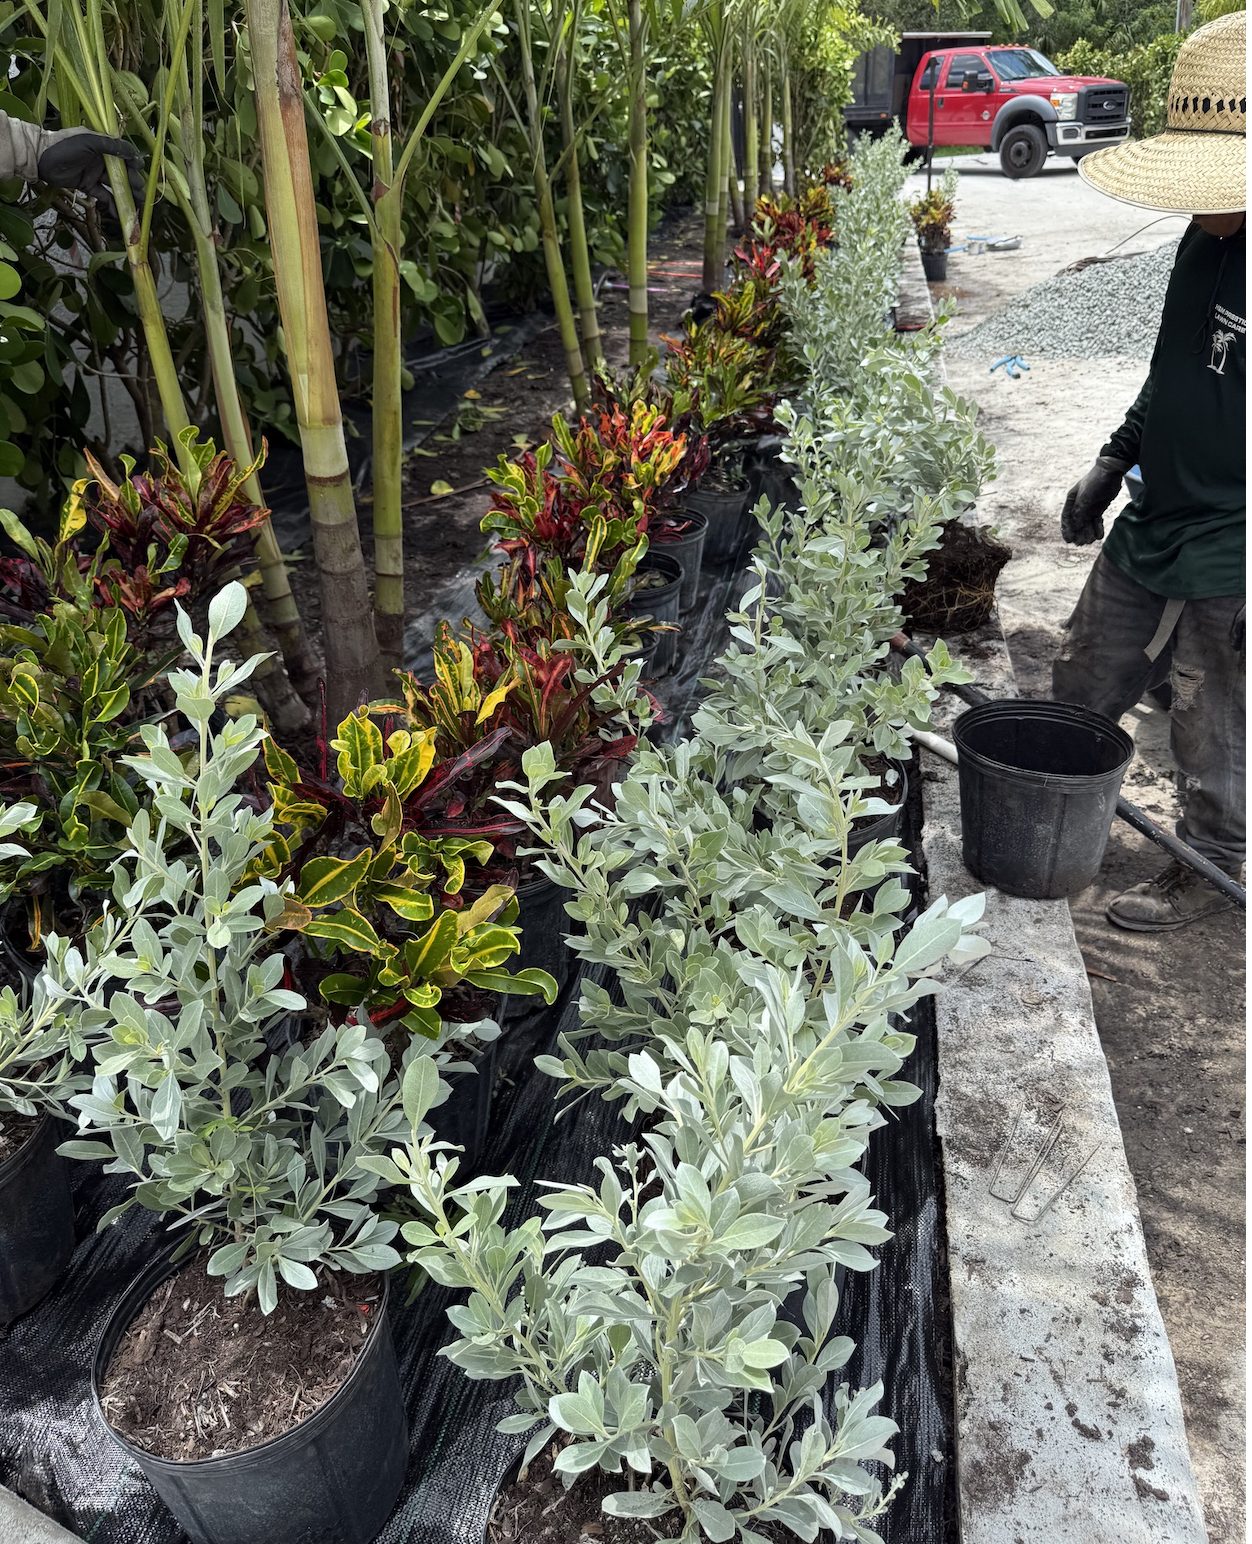
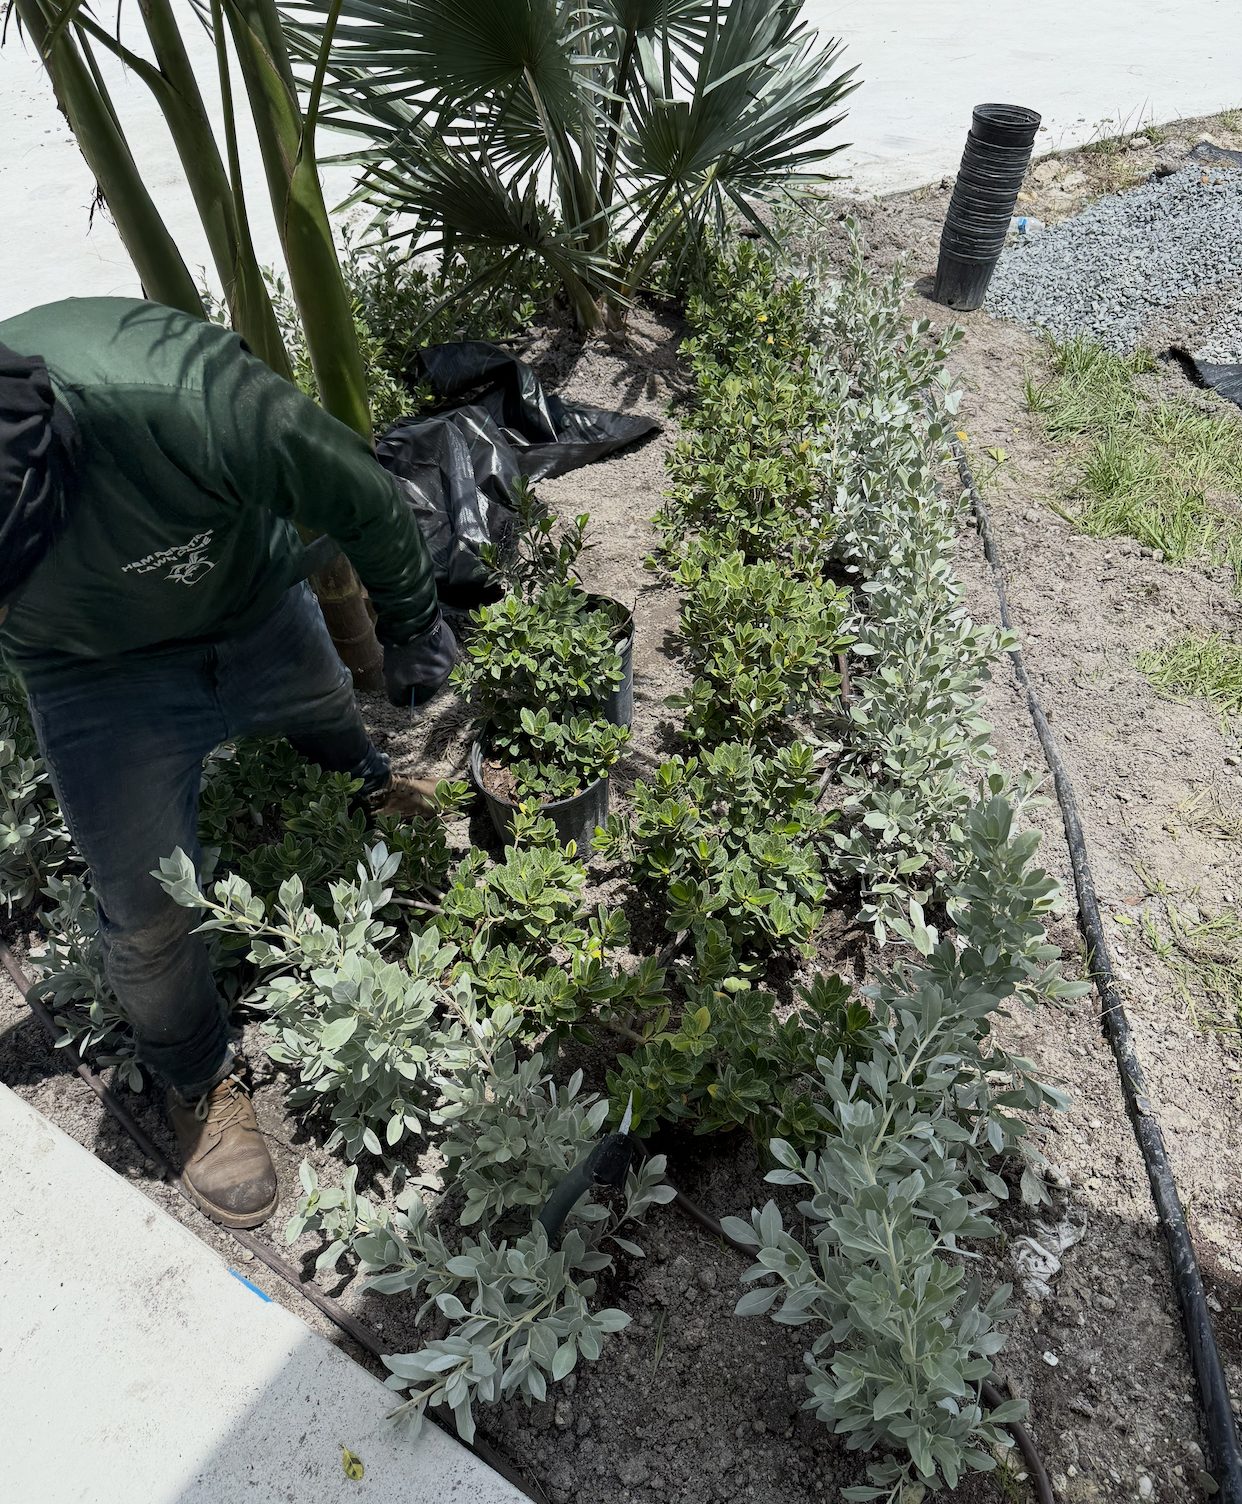
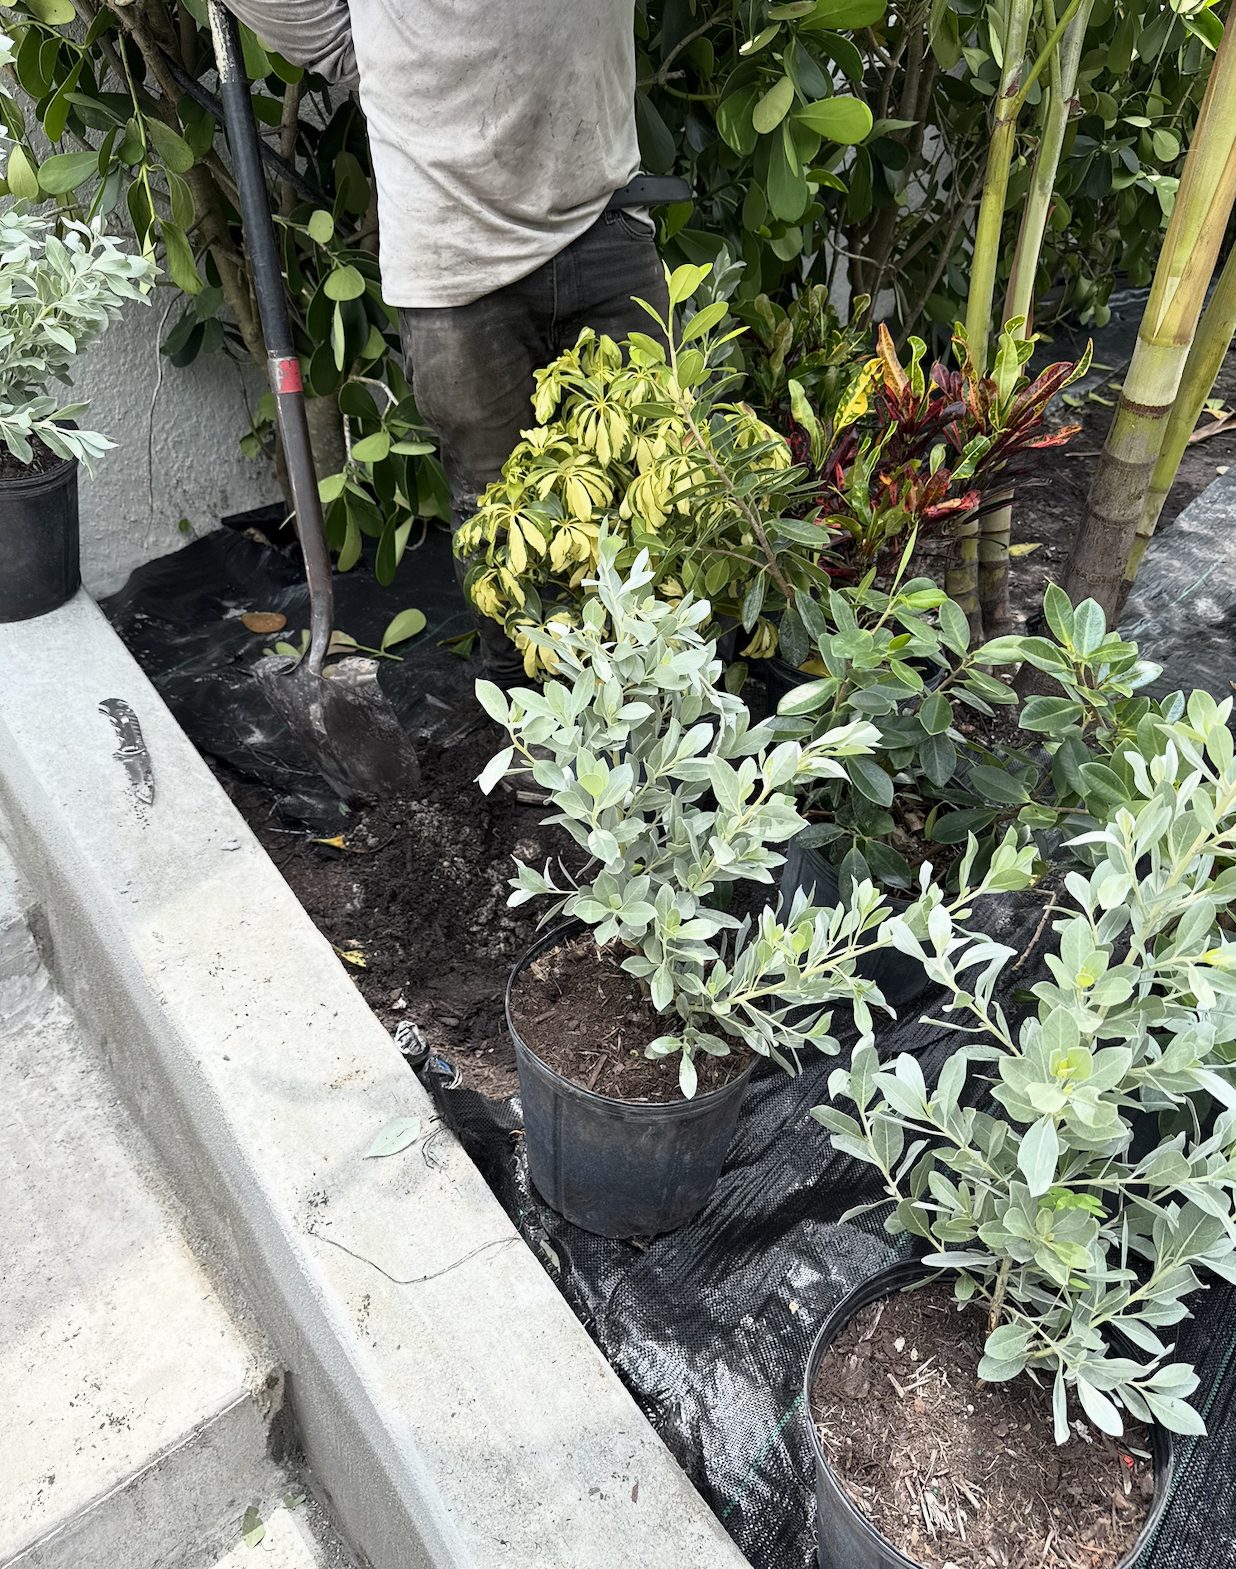
04Every plant set in position, still potted, before anything is planted.
Step 04 of 06
We lay every plant out before we plant it
This is the step most crews skip.
Before anything goes in the ground, we set every plant out in position — still in its pot — and step back. Spacing gets adjusted for how each species will actually grow, not how it looks on delivery day. You get to walk it and say move that one, more of these there. A plant in the wrong spot is a mistake you live with for years; moving a pot takes ten seconds.
This is why our photos often show plants still in pots — that stage is the whole point.
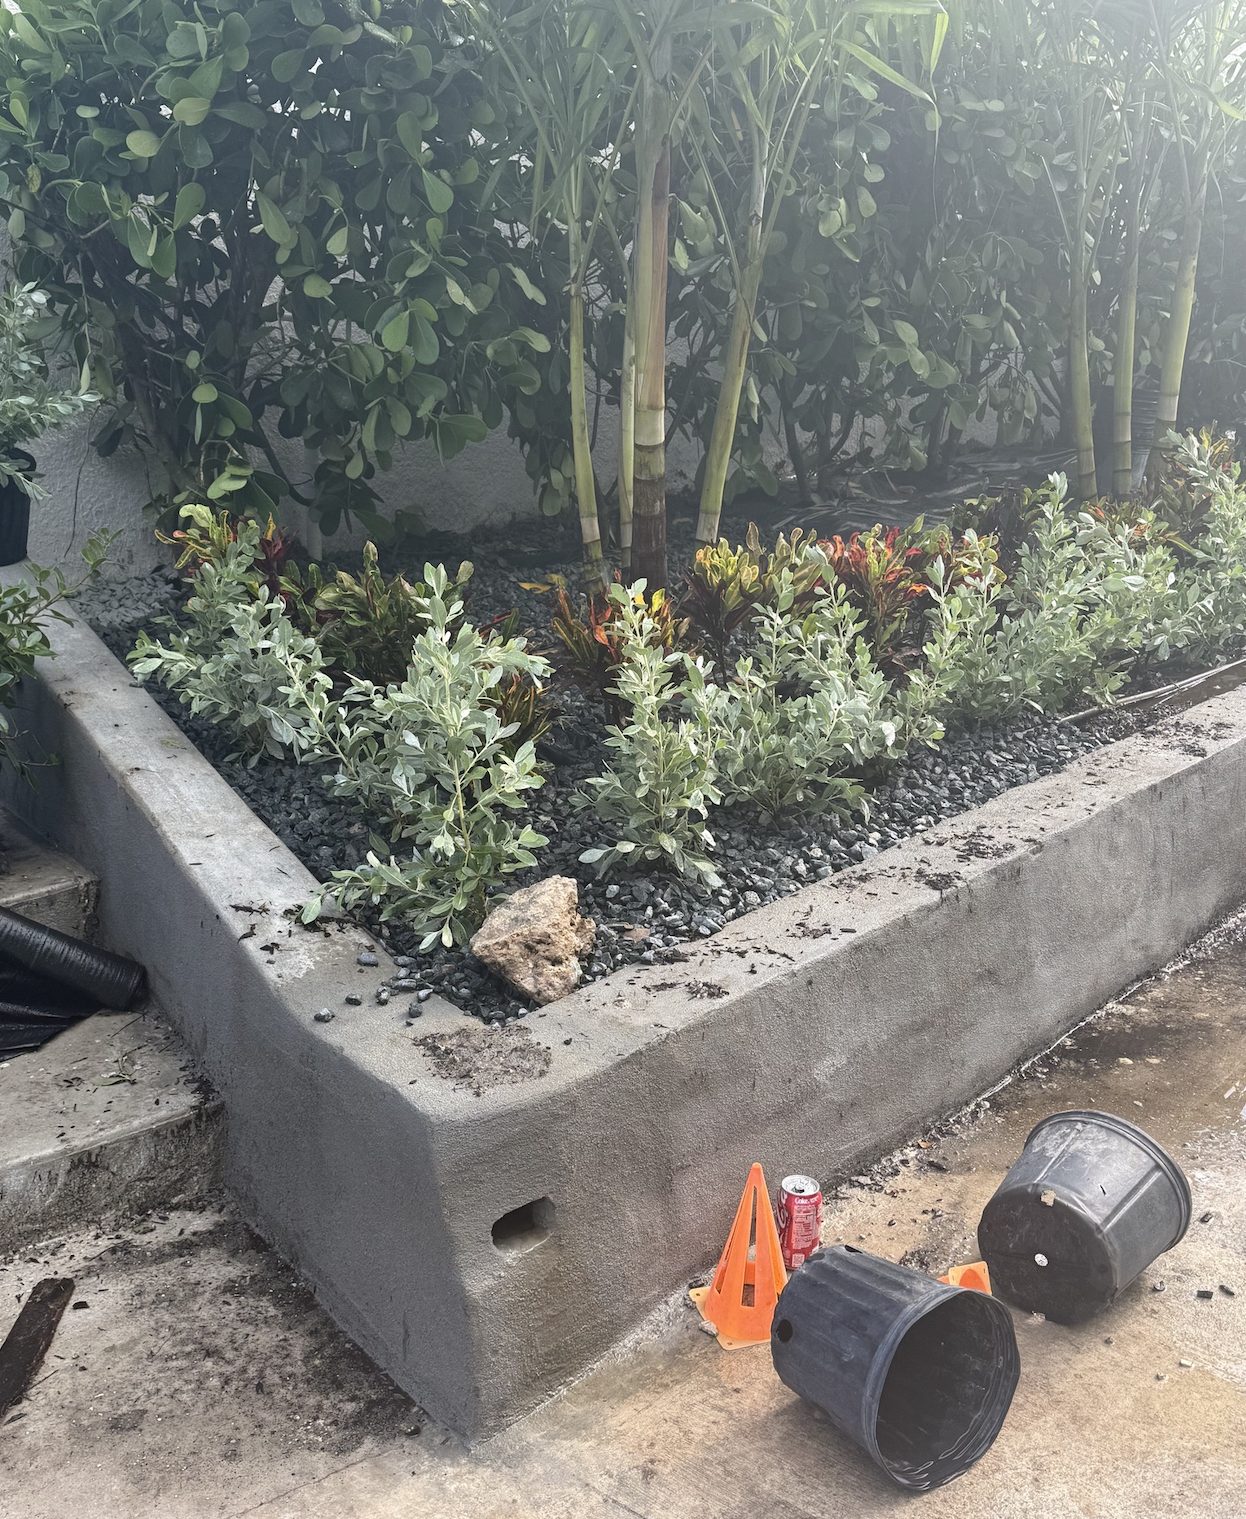
05Planting to the layout — spacing already decided and approved.
Step 05 of 06
We install it
Planted, mulched, irrigated, cleaned up.
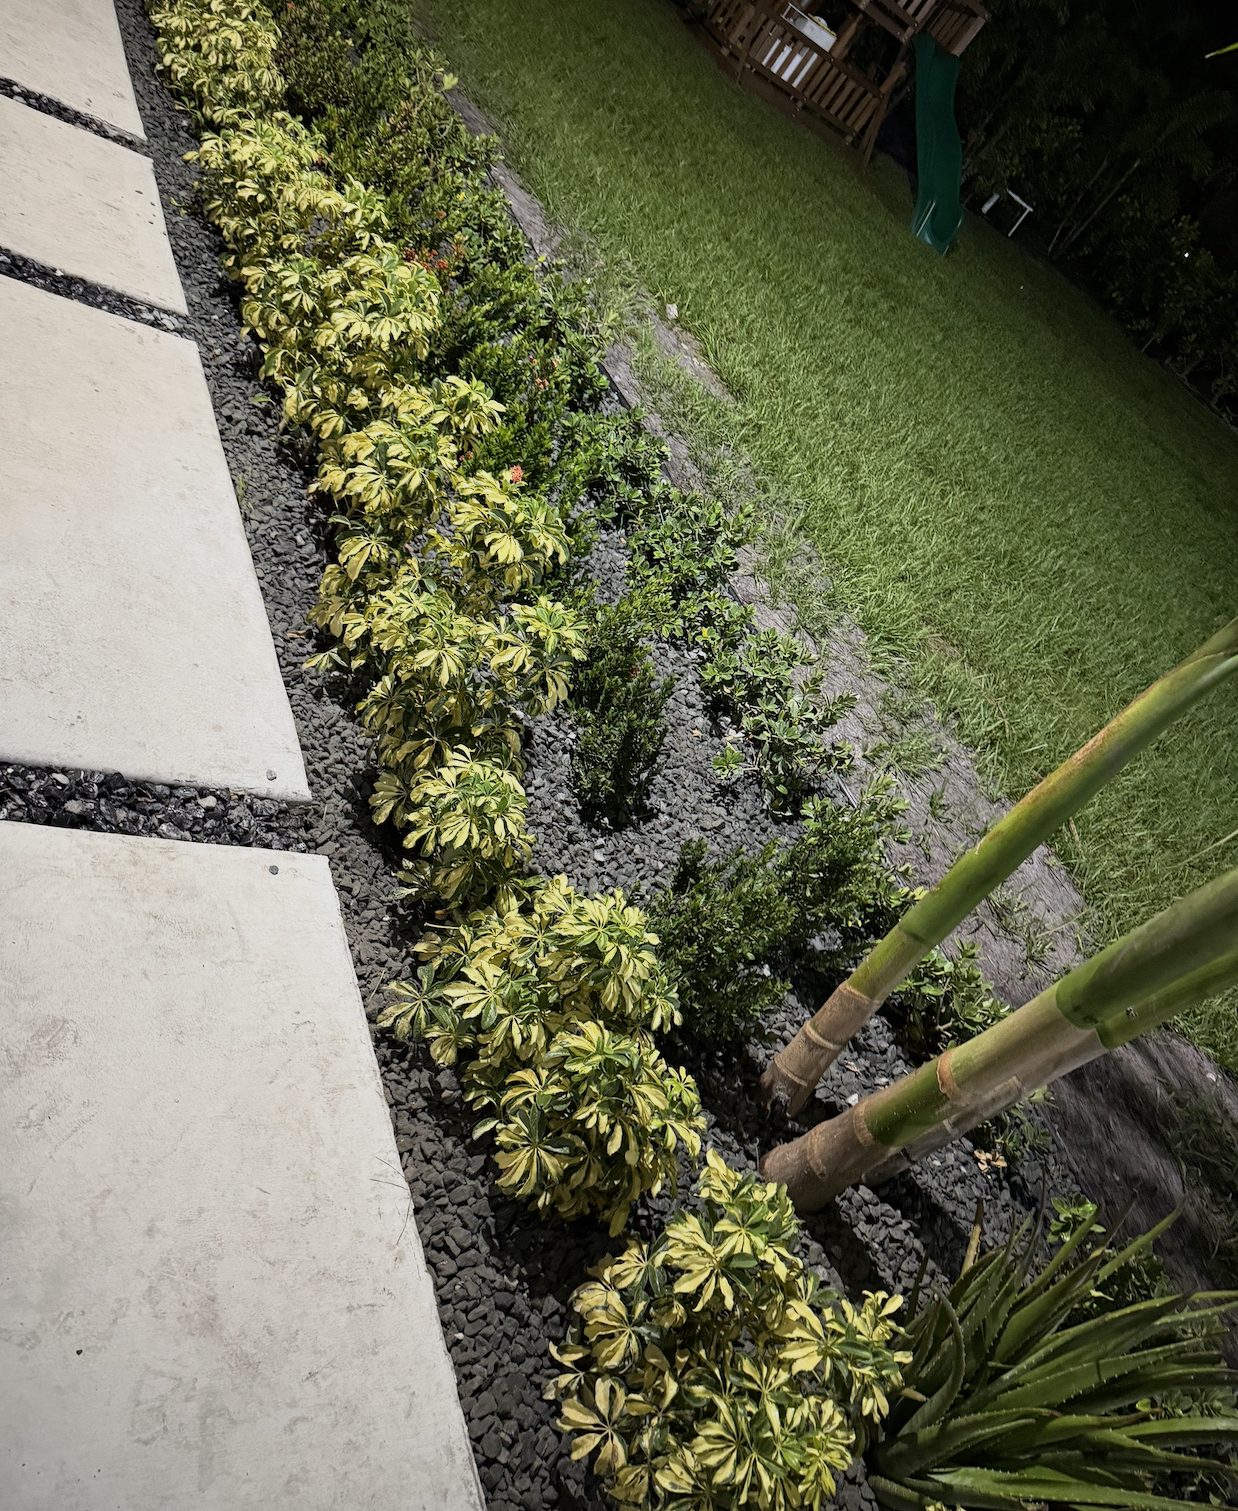
Plants go in at the right depth and spacing, beds are mulched or stoned, irrigation is adjusted so every new plant actually gets water, and the site is left clean — walks and drives blown off, debris hauled away, pots removed. On commercial properties we schedule the disruptive stages around business hours and customer traffic.
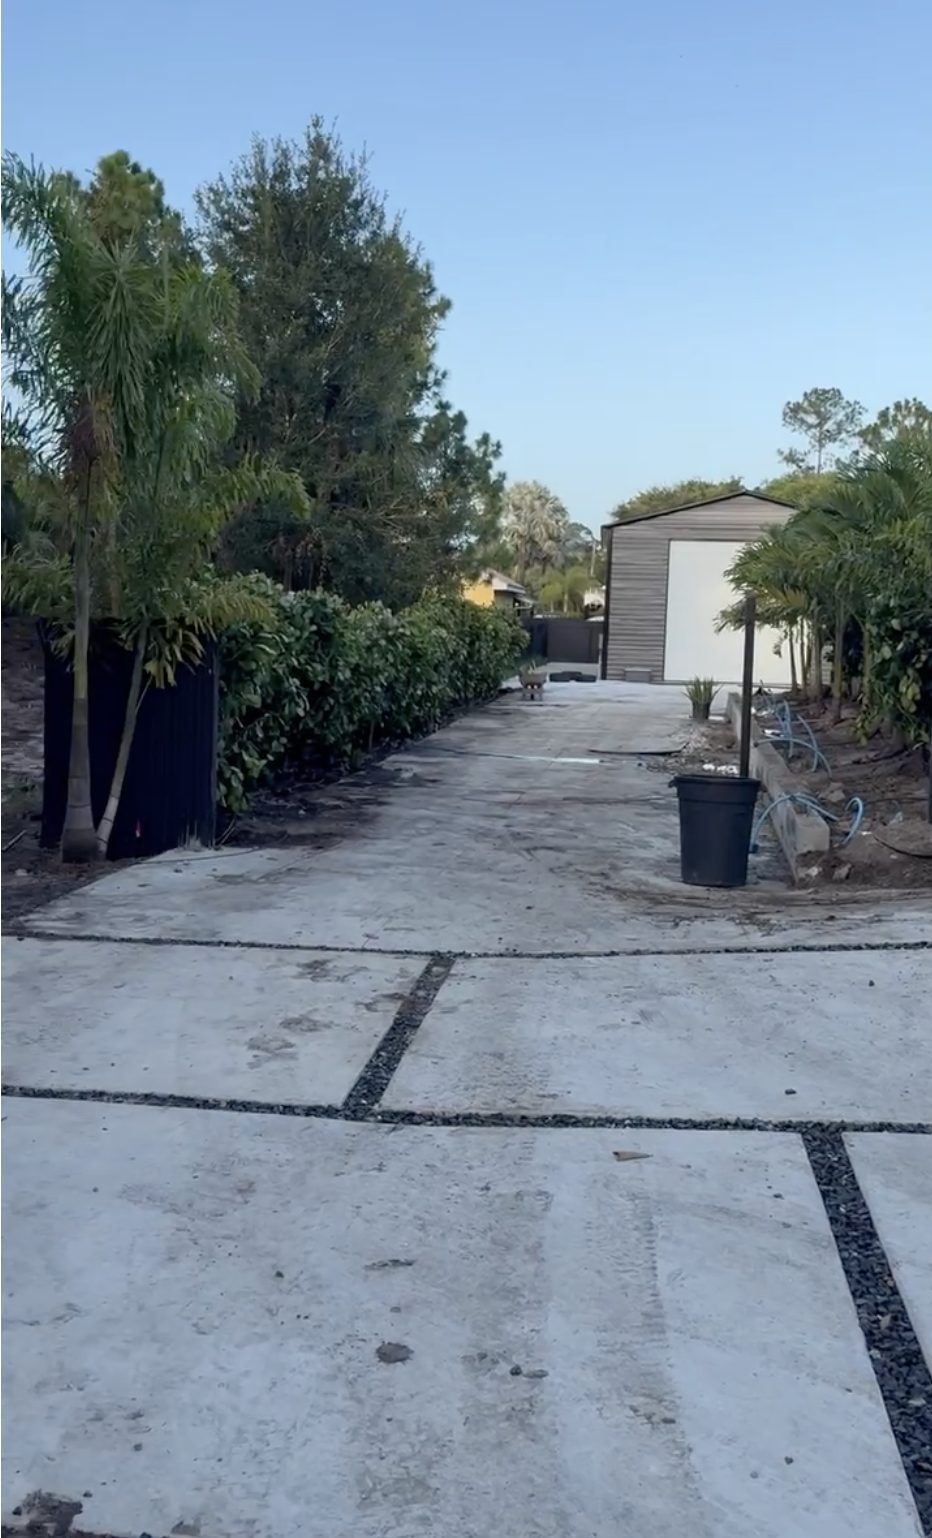
06Finished planting, established and on a maintenance schedule.
Step 06 of 06
We walk it with you again — then keep it alive
Installation is the start, not the finish.
We walk the finished work together so nothing is left unsaid, and explain what the new plantings need through their establishment period — water, timing, and what the first few months should look like. Most clients then move onto a maintenance schedule, because the fastest way to waste a landscape investment is to install it beautifully and let it go for six months.
From The Same Project
More From The Job
Delivery, clearing, layout and finished planting on a single Southwest Florida property.
Material arriving on siteBismarck palms staged for placementGrading and site clearingSpacing checked plant by plantFinished planter with stoneHedge line and drive after install
The Same Discipline, Scaled
How This Works on Commercial Properties
The steps do not change for a retail centre or an association — the documentation just gets heavier.
01
Scoped in writing
Property managers get a written scope they can take to a board or a regional office, not a verbal number.
02
Phased to budget
Enhancement work can be split across quarters so it fits a budget cycle instead of blowing it.
03
Documented
Completed work is photographed and recorded — useful for files, boards, and code re-inspections.
04
Handed to maintenance
New installs roll onto a recurring schedule so the investment is protected, not left to fade.
Ready When You Are
Let's Walk Your Property
No obligation. We'll tell you what we would do and what it would cost, in writing.